The Most Critical Step in Self-publishing a Mainstream Photography Book
It is a given that you’ll need a great concept, photographs, selection/sequencing, design, editorial matter, and printing, but this article doesn’t touch those aspects and instead is about the business. No matter how excellent your book is, what is the use if it doesn’t get into enough hands to make an impact? Once you know the subject of the book and its audience, the most critical question is how many copies do you want to sell. That will lead you to the next steps. If that number is below a thousand, then with some determination, you could handle the sales by yourself, maybe with some help from your family, which leaves you with 100% of receipts. The problem becomes finding a cost-effective way to print the copies. There are two approaches to printing, print on demand, and offset printing.
Print on-demand
Print on-demand uses a digital press without plates, basically a high volume digital printer, so the cost of setup is relatively low. You can order as few books as you want, so it is a viable option even if you sell only a few dozen copies. You could even use print on demand to order a single copy for a special occasion like an exhibit! While print on demand works just fine with text-based books, for photography books the resulting print quality usually does not match what can be obtained with a traditional offset press. However, the main obstacle is the high cost per copy for photography books. How high? For instance a single copy of a 240-page, 8×10 book costs more than $100 on Blurb, while a 12×12 is a whopping $180. Costs go down for multiple copies, but not that much. You can offer those books as limited edition copies or artist books to your existing audience. On the other hand, selling the book at a price competitive with mainstream, commercially distributed books is very difficult.
Update I subsequently learned about Amazon KDP, which combines printing on demand and distribution in the form of sales from all Amazon stores. That combination and lower costs than companies such as Blurb make it a workable solution, although the print quality remains much below offset printing and the price hardly competitive.
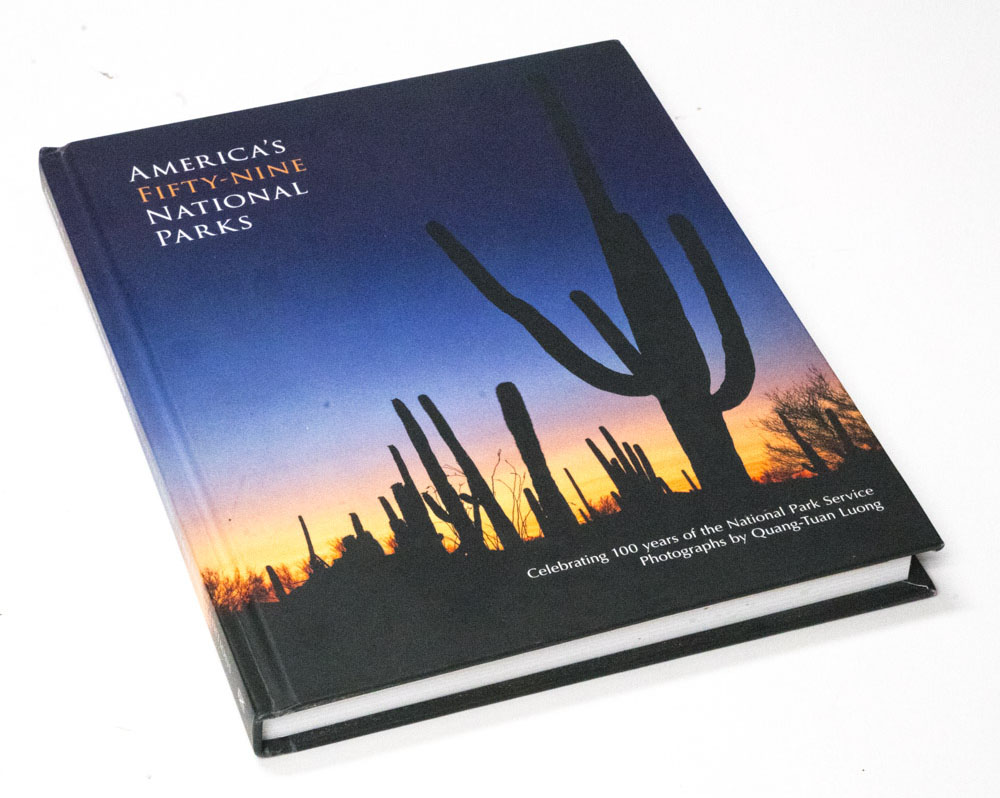
176 pages, 11 x 8.5 inches, limited edition of 100. Initially offered at $85 (currently $125)
Offset printing
In offset printing (videos) one needs to set up printing plates, which for a photography book often can be a five-figure amount, but once the setup is done, large quantities of pages can be produced at a relatively low cost. Depending on the printing options, the quality can be extremely high, so high as to be indistinguishable from photographic prints. The problem is to be able to order (and sell!) enough books to offset the setup. While short runs are possible, and more economical than print on demand beyond approximately 300 copies, realistically you’d want to print about a thousand books to make it worth it. Here is a recent quote from the Asian printer of Treasured Lands for a different 250 page, 11×11 inch book – North American printers are just not competitive in price for color photography books:- 750 copies @ $35.98/cp: total $26,985
- 1,500 copies @ $22.08/cp: total $33,120
- 2,500 copies @ $16.25/cp: total $40,625
- 5,000 copies @ $10.85/cp: total $54,250
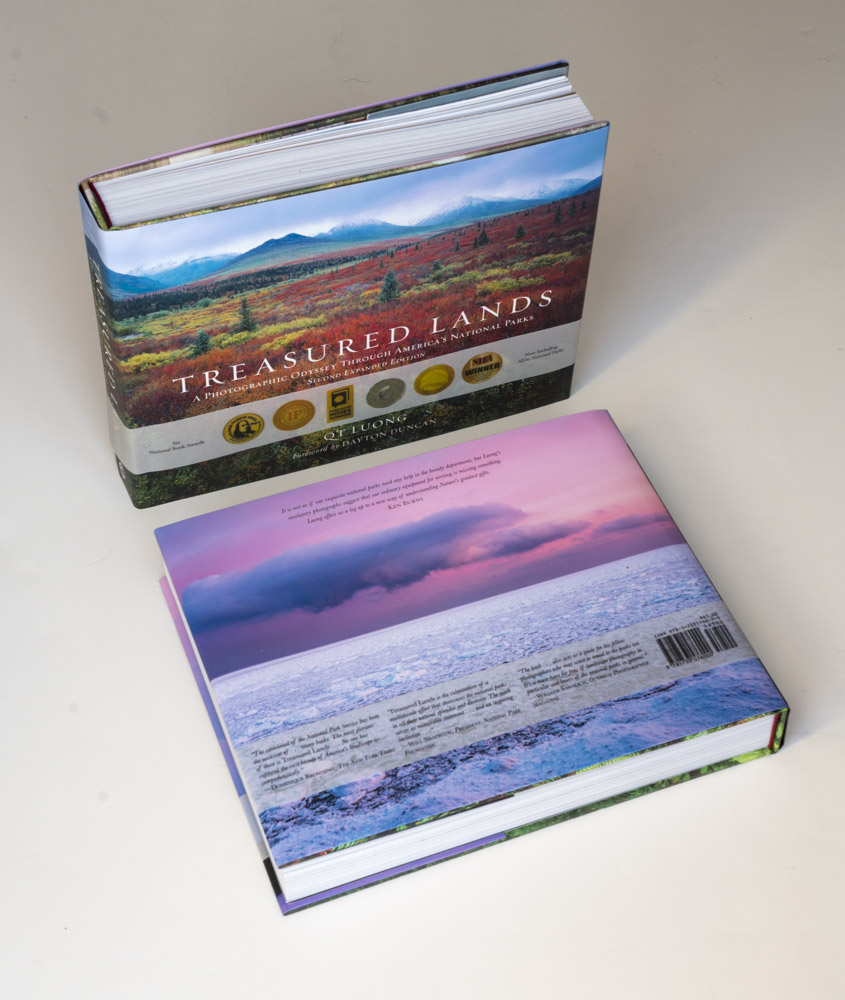
Treasured Lands second edition. 480 pages, 10 x 12 inches. $50 on Amazon
Distribution
If you are going to print thousands of books to take advantage of economies of scale, distributing them yourself becomes a significant endeavor. For thousands of books, relying on your fan base will likely not be enough, you’ll need to reach new customers by selling them in bookstores. You’ll have to:- Store them. Thousands of photography books can easily fill your garage, so may need to rent storage space.
- Sell them to bookstores, usually at a 50% discount, however, Amazon uses its dominant market position to demand a 55% discount plus other fees.
- Ship them. Photography books are heavy and easily damaged.
- Invoice and collect payment from many booksellers, most of them ordering just a couple of copies.
- Handle the returns/restocking/refunds. It’s a little-known fact that bookstores reserve the right to return books that have not sold fast enough. Quite a few get damaged in the round-trip.
From a business point of view, securing a distribution contract is the most critical step in self-publishing. You have to do so before you start production at the printer, so they have a warehouse to ship to. Convincing a distributor to distribute your books is similar to convincing a publisher to publish your book. They want to have a sense that your books will sell reasonably, and will use your marketing plan and publishing program to ascertain that. They will market to booksellers, but not to end-customers. Like with a publisher, the relationship goes both ways. Maybe because many publish for vanity, the publishing industry is full of predatory actors, so you have to make sure you partner with a distributor who has established an excellent reputation and reach. Here is a solid list of book distributors.

500 copies of Treasured Lands (1/10th of the initial print run).
Terra Galleria Press distribution
Three years ago, it would have been difficult for me to secure a great distributor because I had no track record. On the other hand, with no distributor, one cannot sell books in large quantities – the classic bootstrap issue. I went to an existing publisher (with a co-publishing agreement) partly because they were working with a major distributor. In the intervening years, Treasured Lands has done quite well in the marketplace compared to other books by some of the well-known names in photography. This opens doors. The list above describes Ingram as the “world’s largest distributor of books to online and retail stores, schools, and libraries”, and it is a nice bonus that they are based in the San Francisco Bay Area where I live.We at Terra Galleria Press are very pleased to have secured distribution for our books with such a major distributor as Ingram Publisher Services. We are honored to join a family of distinguished photography book publishers ranging from Aperture to Taschen who are distributed by Ingram Publisher Services. The arrangement was reported last week by the venerable Publishers Weekly.

Terra Galleria Press is a new publisher based in California specializing in photography books. We celebrate the diversity of our natural and cultural heritage. Our goal is to publish beautiful and useful books that inspire readers to embark on a journey of discovery and reconnect with the earth. The press’s initial focus is on books about America’s public lands, with the hope that via widespread readership they will help raise awareness and contribute to their preservation for future generations.